Shirring in One Minute
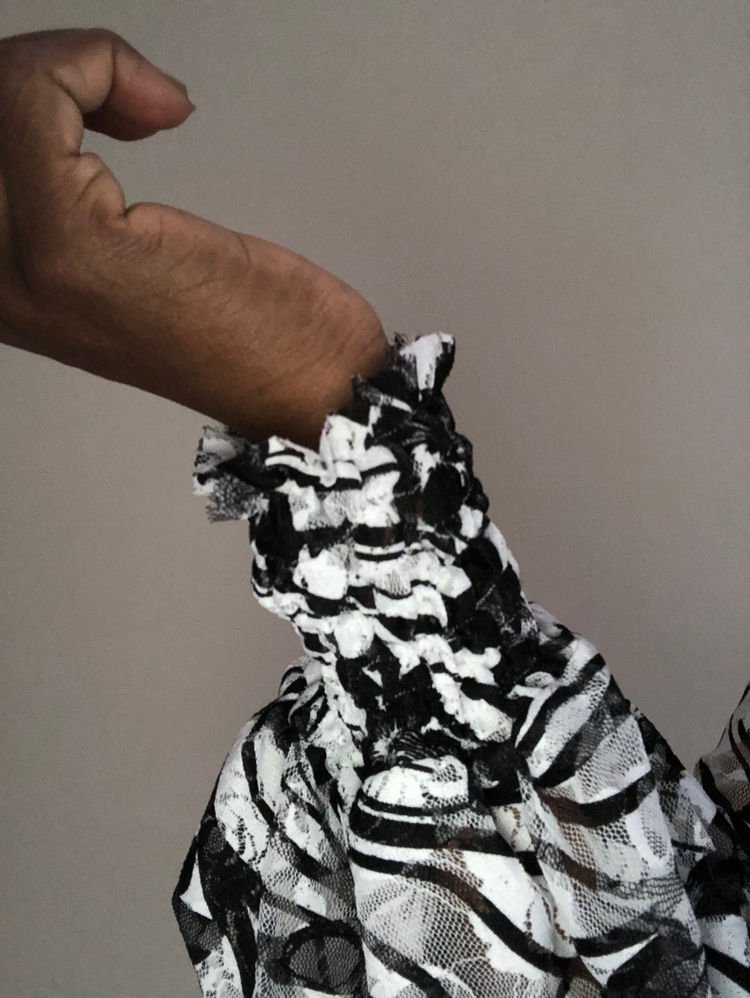
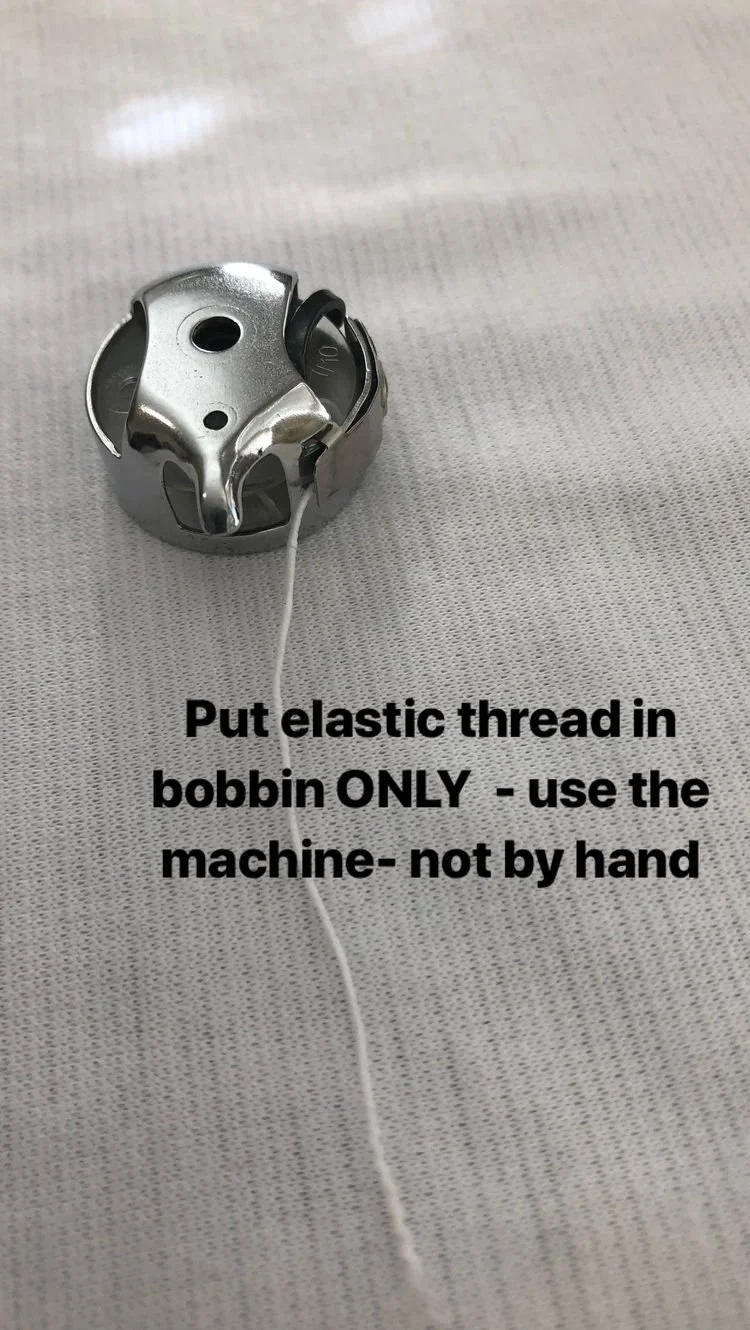
This post is inspired by a new friend that owns a beautiful boutique where she designs and produces unique and classic women's wear. I visited for the first time and we became fast friends and I just inhaled the clothing hanging on the racks. A yellow blouse caught my eye and she shared with me how she adding shirring to the cuffs and neckband of the chiffon long-sleeved blouse. I asked how she did it right then and she simply told me to put the elastic thread in the bobbin. Viola! I've been shirring everything since. Below are photos and the Shirring tutorial and instructions.
FAQs
When I posted the tutorial on the FB group Sewing for Beginners, I realized there were so many unanswered questions.
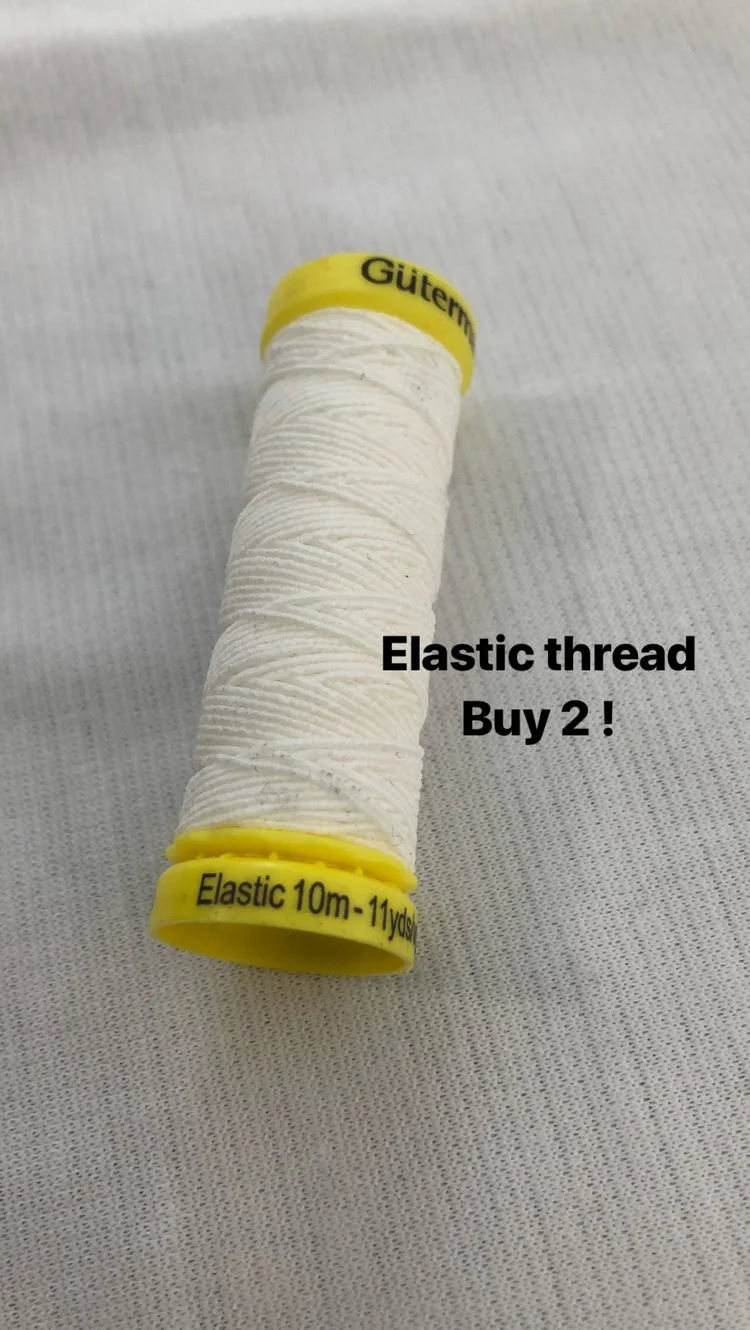
- Wind the bobbin with the elastic thread normally with the machine - NOT by hand. It winds fast and not very much. The bobbin creates the stretch as it's sewn.
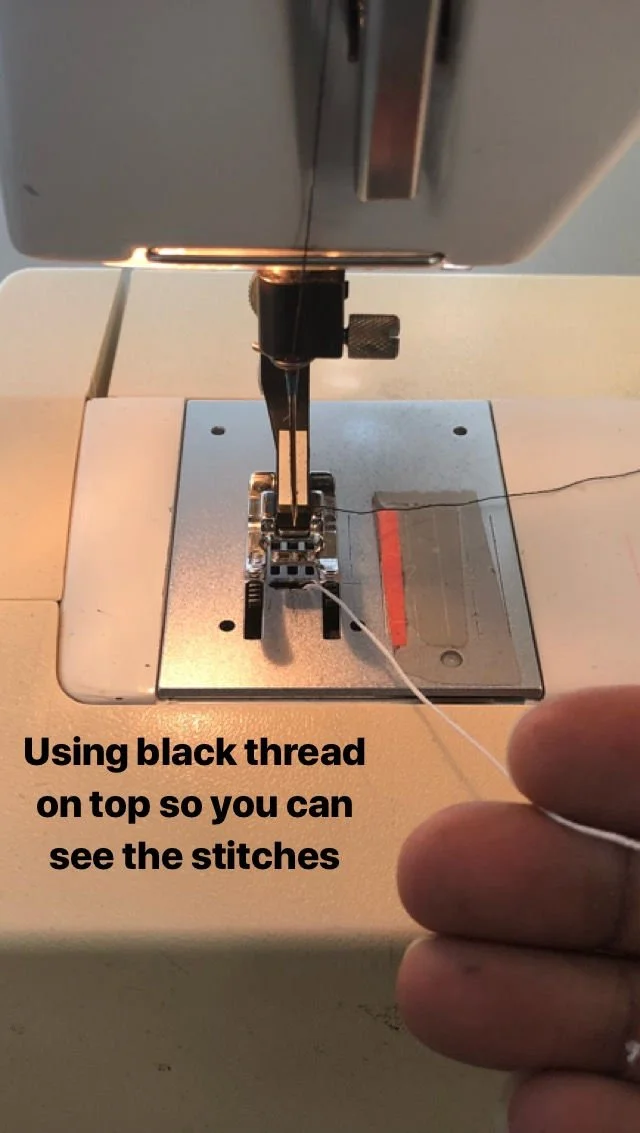
- For your sample, use a knit fabric and a different colored thread so you can see the stitches.
- Make adjustments on your machine as necessary: use a wider stitch length - maybe 4 or 5 for knits and 6 or 7 for wovens - play with your settings to see what your machine wants.
- Begin stitch at the edge of your fabric piece, then stitch subsequent lines equally next to each other based on your design.
- You can back stitch at the ends
- Suggest creating one long piece of shirred fabric, then use it like a fabric piece like a cuff or neck band or waistband for a child's garment. If you want to use a measurement for top, I suggest start with 3/4 more fabric than your garment measurement. Example: For woven fabric: bust/chest measurement is 30 inches, shirr your fabric piece that's at least 50 inches. For knit fabric: start with a piece of fabric that double your intended final measurement.
