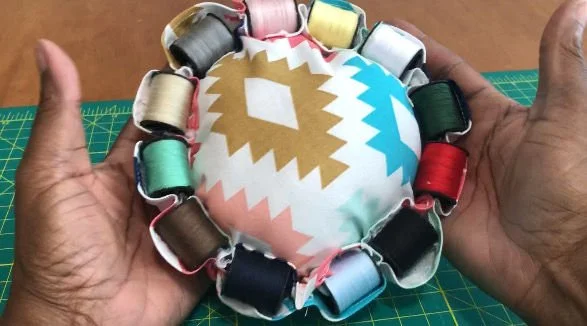
Pin Cushion Project
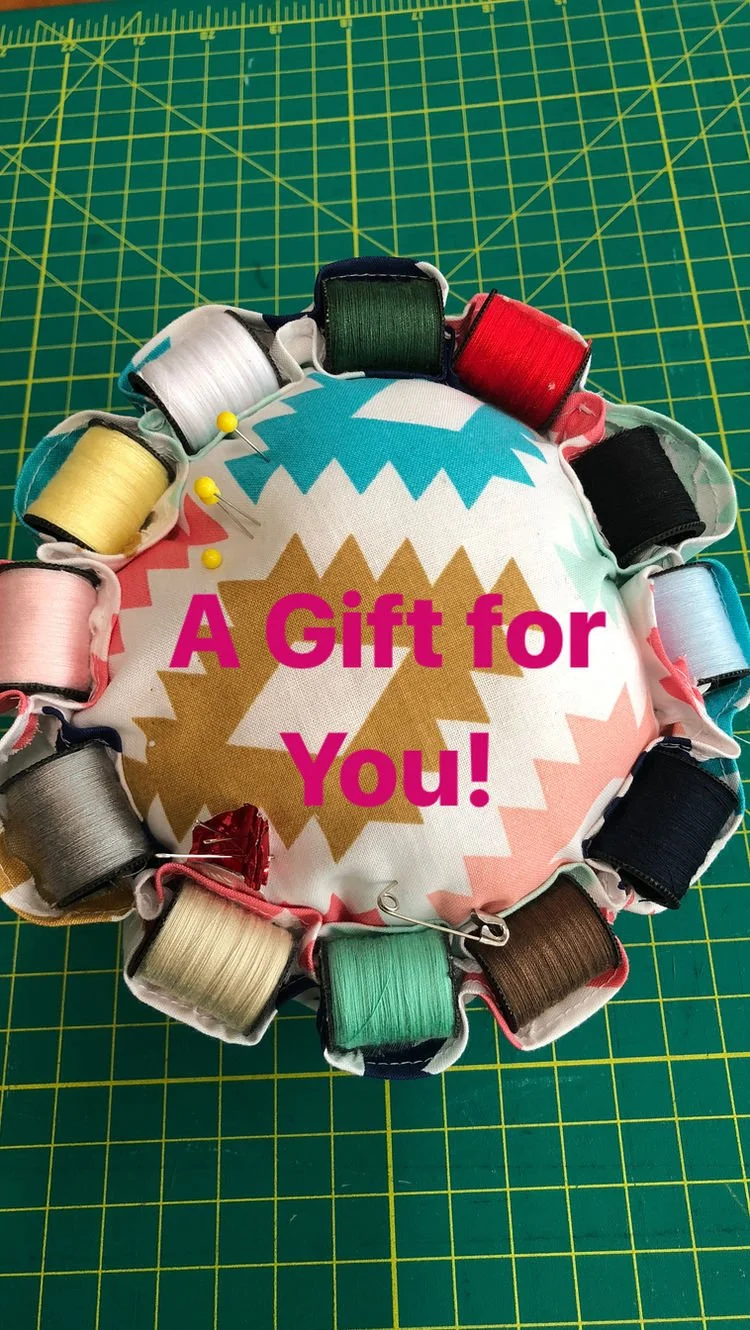
Thank you for subscribing and downloading the Pin Cushion Project from Sewing My Style. I made this pincushion in the early 90s and it’s been on my sewing table since then. Today I use this project for teaching beginners fundamental techniques of sewing including measuring, cutting, transferring pattern markings, pinning, stitching on curves, tacks with a zigzag stitch. It’s a great project for beginner sewing lessons including kids, adults and small projects.
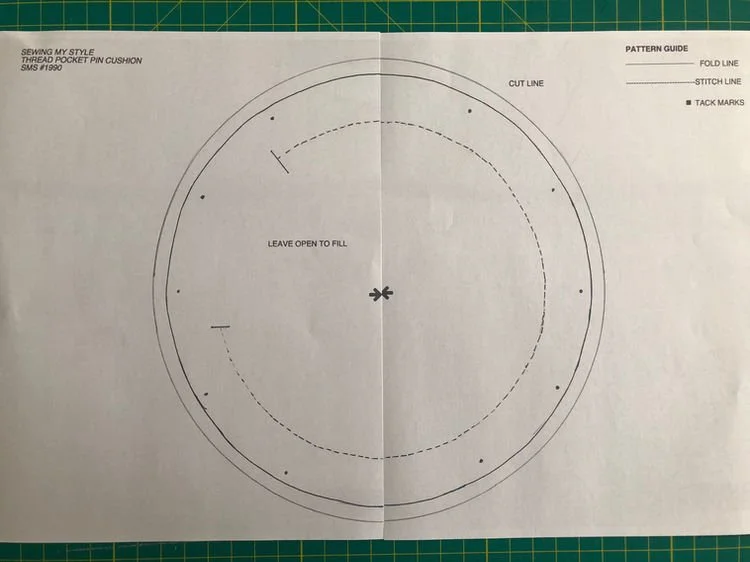
Download the 2-piece pattern, connect the center arrows, tape and you’re ready to design your own Pin Cushion.
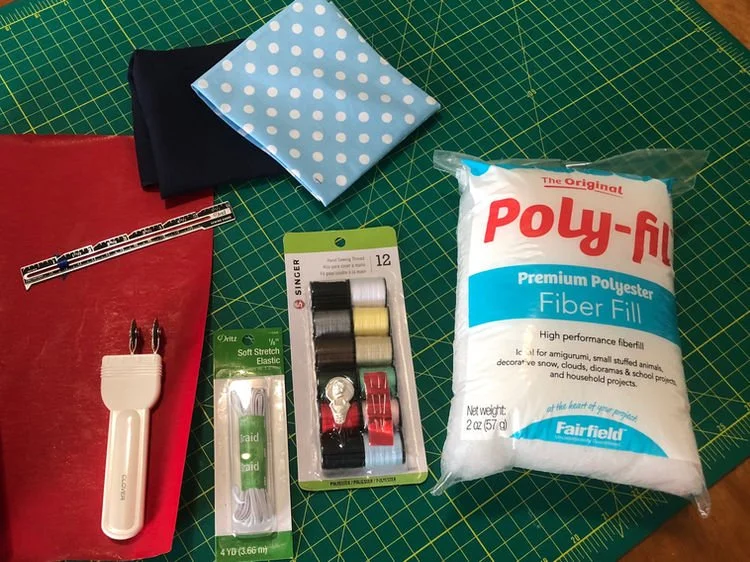
SUPPLIES:
Any woven fabric – 1/3 yard – a fat quarter will do. Have fun with a print on top and a solid on bottom. Kids will enjoy this choice. Small bag of Polyfill (complete bag fits) One Singer 12-pack hand sewing thread 15inches of 1/8” elastic Sewing Tools: Tape, Tracing Wheel and Paper, Sewing Gauge, Marking Pencil, Iron, Thread
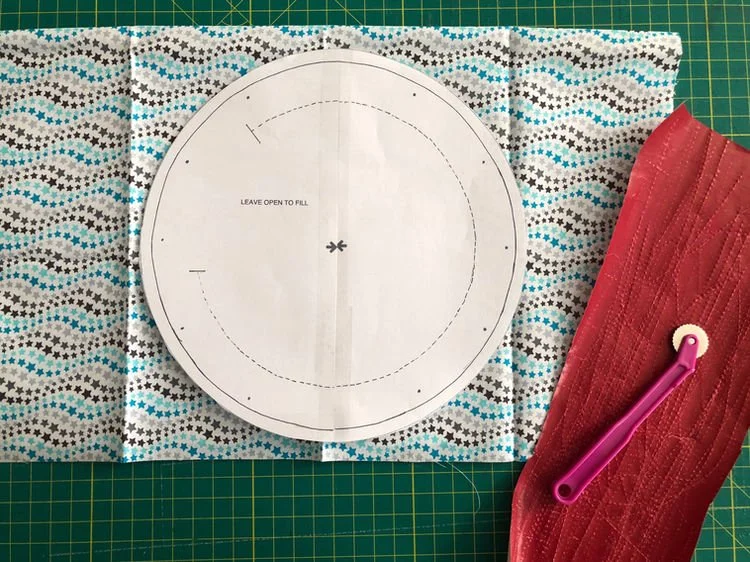
STEP 1 - Tape pattern pages together by connecting middle arrows tip-to-tip. Depending on the output of your printer, you may need to slice the edges of the paper to get a good connection. The circle should be 10 inches wide at all points/30 inches circumference. Cut out circle on CUT LINE.
STEP 2 - Place pattern on fabric pieces wrong sides together and TRACE ALL MARKINGS from pattern onto top layer of fabric and CUT.
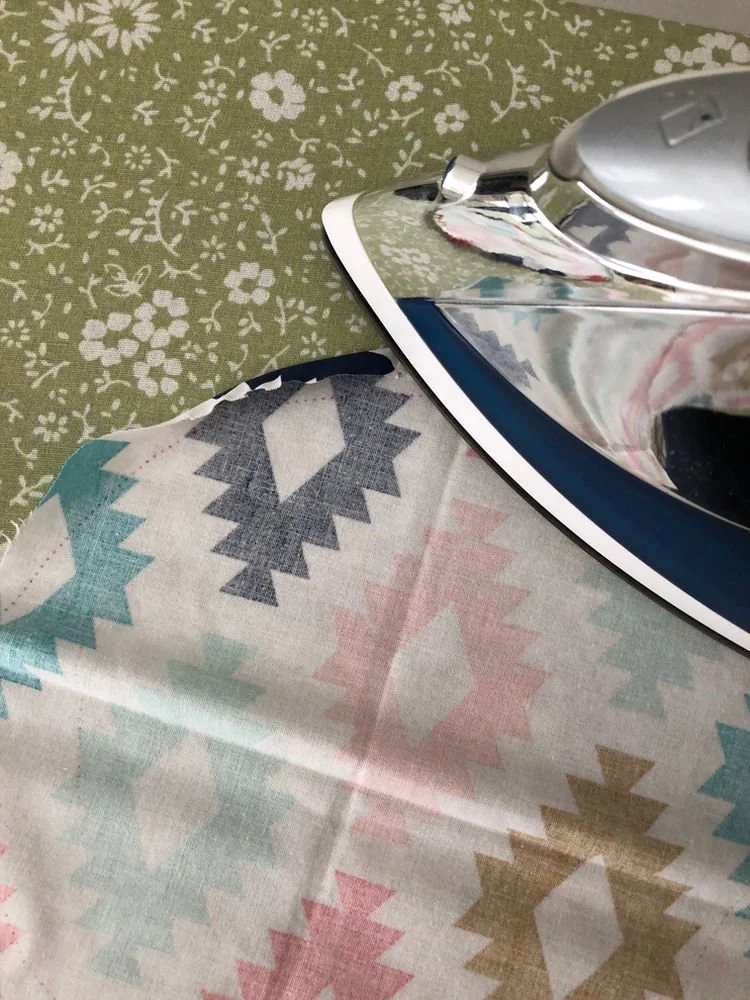
STEP 3 - FOLD down edges of each circle ¼ inch and press.
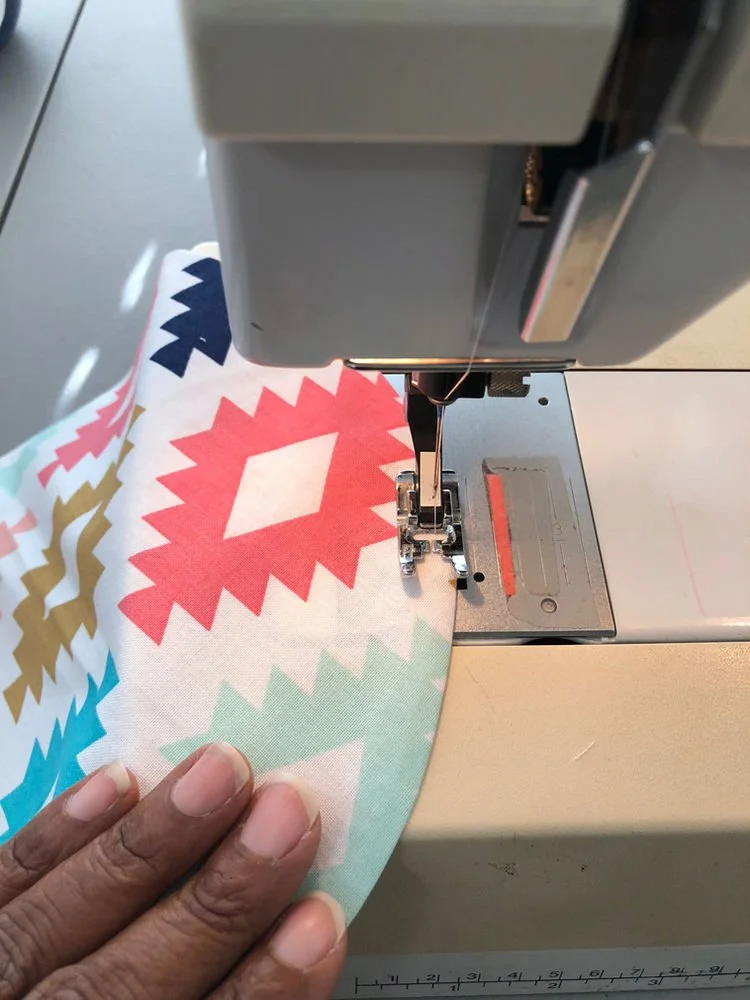
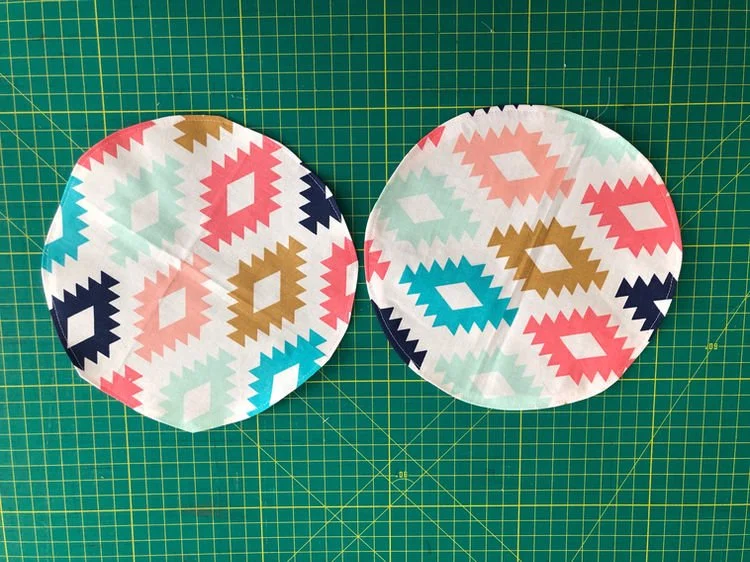
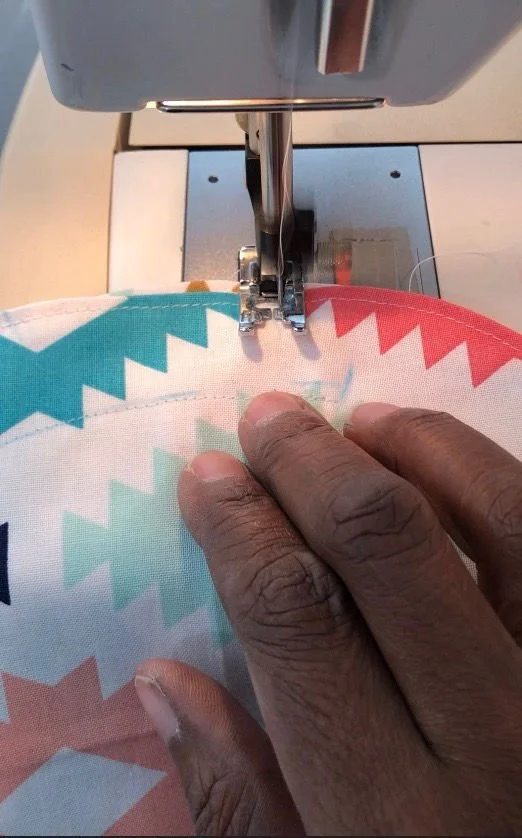
STEP 4 - Top-stitch around edges of each circle.
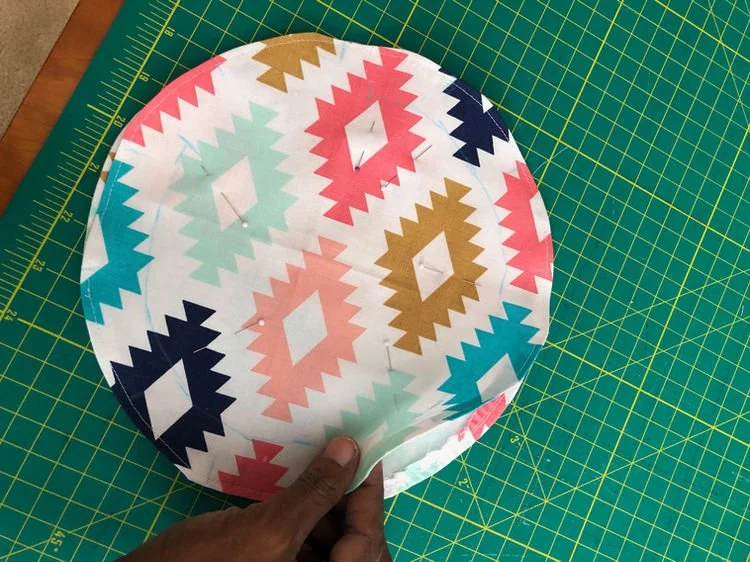
STEP 5 - Pin both circles together, sewing on the STITCH LINE leaving opening for polyfill – this line is 1inch from the folded edge.
STEP 6 - If necessary, re-mark all TACK MARKS and stitch using a zig-zag stitch on zero stitch length, stitching on the edges through both fabric pieces – there will be 13 TACKS and 12 little pockets – remember to leave opening for polyfill.
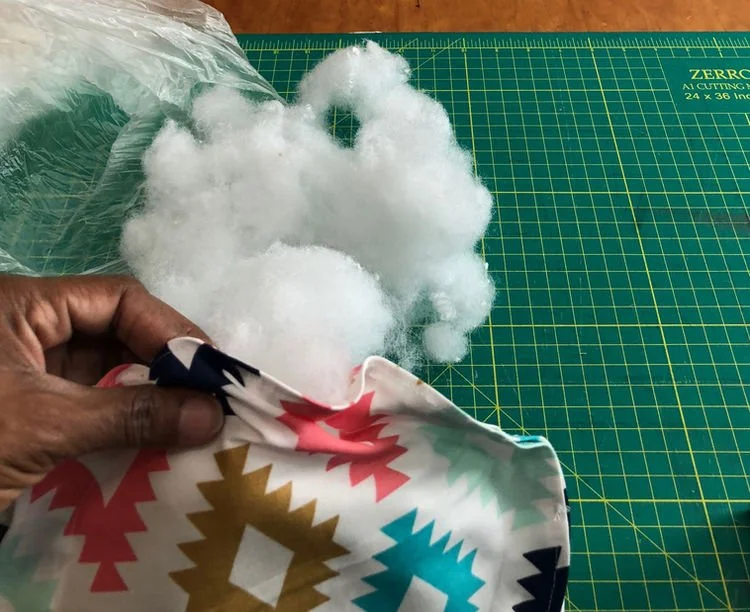
STEP 7 - FILL middle with polyfill stuffing until firm – close STITCH LINE by stitching across opening. Stitch the last TACK MARK.
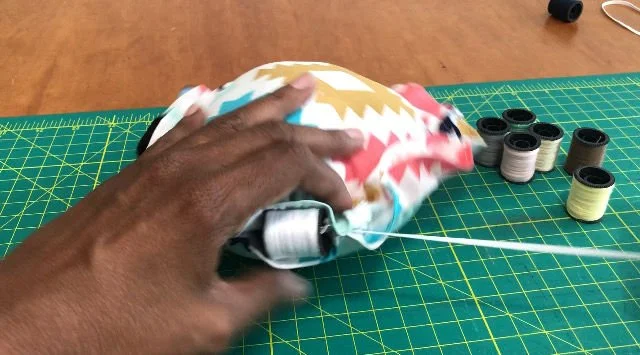
Pin one end of ELASTIC to one thread pocket. Use a safety pin on the other end and begin to insert spools of thread into each pocket by moving elastic into each pocket under each TACK MARK. When done threading all 12 spools, tie the ends of elastic together tightly and tuck under last spool of thread, you may need to change the spools sometime in the future.
Pins, needles and needle threader all fit on the Pin Cushion – Enjoy!
Thanks for the love, NKY-G
